
Real Cleaning Experience: How Easy Is It to Clean the Tikpaws CB Series Smart Litter Boxes
Date: 2025-11-04 Categories: Reviews Hits: 1243
How to Clean Tikpaws Smart Litter Boxes (CB001-CB004): Step-by-Step Guide
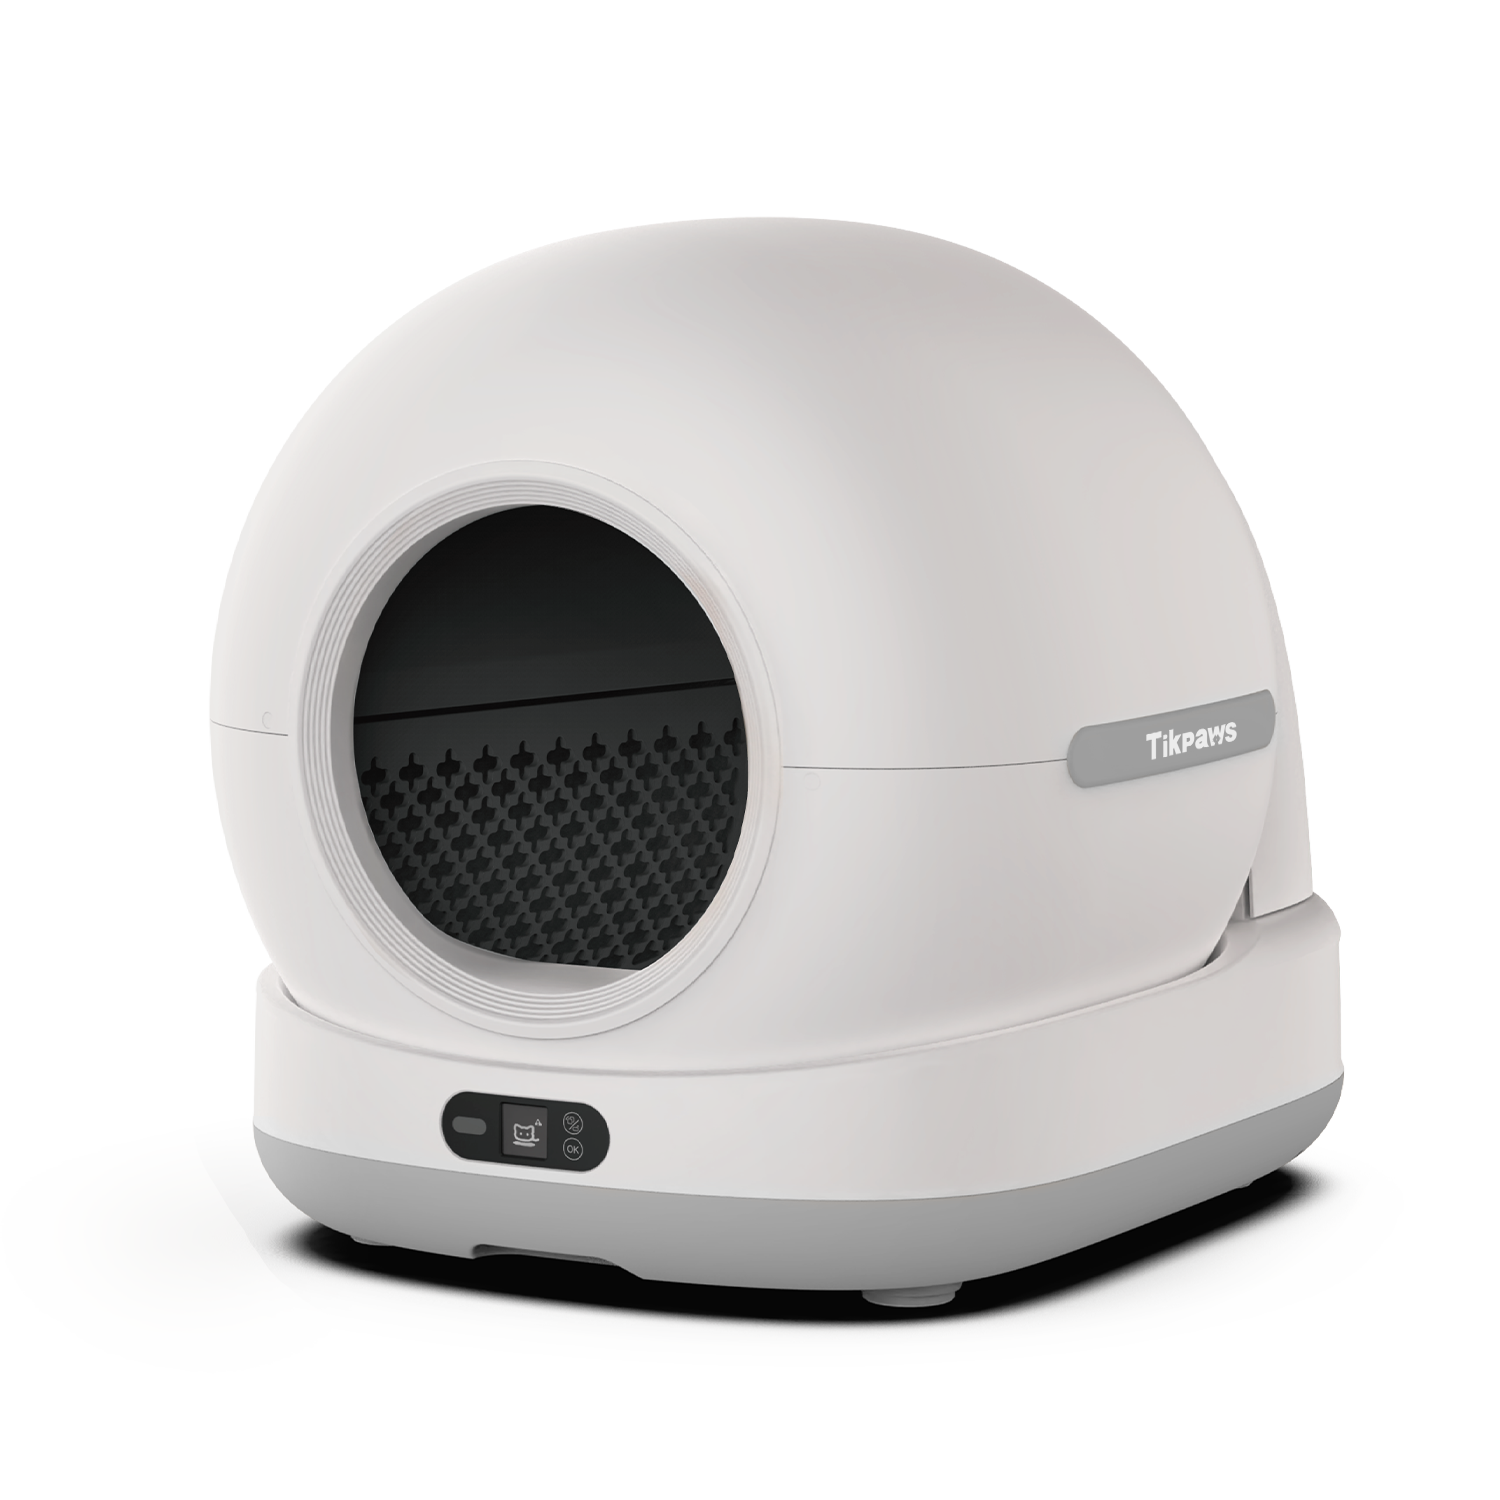
Table of Contents
−1. Before You Start
Tikpaws CB series litter boxes (CB001–CB004) are designed for easy maintenance — no special equipment or complex assembly is required. While it's not completely tool-free, you only need common household tools to get the job done effectively.
Before cleaning, remember these important steps:
Always unplug the power and remove the waste drawer to prevent electrical hazards.
Ensure your hands and surroundings are dry when handling the bottom unit (the main base that houses electronic components).
Prepare a clean area for washing and drying the parts — preferably outdoors or near a drainage area to avoid mess.

2. Essential Cleaning Tools (and Substitutes)
Here's what most Tikpaws users actually use for a full monthly cleaning of CB001, CB002, CB003, and CB004 models:
Electric screwdriver (preferred): Faster and easier for removing the silicone mat. Example: an automatic model from the German brand Wesco.
Regular screwdriver (substitute): Works fine if you don't have an electric one — just takes a bit more time.
Long-handled cleaning brush: A regular toilet brush works perfectly to scrub the inner drum and silicone surfaces.
Rubber cleaning gloves: Keep a separate pair just for litter box cleaning to avoid cross-contamination with kitchen or bathroom gloves.
High-pressure water gun or garden sprayer: Ideal for rinsing stubborn debris. If unavailable, a regular garden hose works as a replacement.
Sulfur soap (recommended): Mix about 10–20g of sulfur soap with 100ml of warm water in a small spray bottle. This blend breaks down urine smell and leaves a mild clean scent.
Alternative cleaner: A mild pet-safe detergent, or a homemade mix of baking soda and white vinegar.
Soft sponge or microfiber cloth: To wipe smooth surfaces and avoid scratches.
Dry towels: For initial drying before air drying.
3. Step-by-Step Cleaning Guide
These steps apply to all CB models (CB001–CB004) and take approximately 30-40 minutes to complete.
Empty and power off.
Use the one-key dump function to empty the used litter into the waste drawer. Unplug the power cord and make sure the bottom unit is completely dry.
Remove major parts.
Take out the drum, waste drawer, waste lid, and back cover. These parts are all detachable by hand without tools.
Detach the silicone mat.
This is the only part requiring a screwdriver. Gently unscrew the mat from the base so you can wash underneath and remove built-up residue.
Prepare your cleaning solution.
Use the sulfur soap mixture or your chosen cleaner in a spray bottle. Spray it onto areas that come into contact with litter or waste — the drum, mat, and waste drawer — and let it sit for 5 minutes to break down odor.
Scrub and rinse.
Use your long-handled brush to clean the interior drum, mat, and drawer. Apply more sulfur soap or baking soda paste to stubborn stains. Rinse from inside to outside with a garden sprayer or high-pressure nozzle.
Clean the bottom unit (no water).
The bottom unit should never be soaked. Wipe gently with a damp microfiber cloth and mild cleaner. Avoid letting moisture touch the sensors or inner vents.
Dry completely.
Use a towel to remove surface water, then air dry all washed parts in a ventilated place for 3–4 hours. Avoid direct sunlight for too long to prevent material aging or silicone deformation.
Reassemble and test.
Once fully dry, screw the silicone mat back in place, reattach the other parts, and reconnect power. Run one test cycle to ensure smooth rotation and sensor accuracy.
4. Drying and Odor-Control Tips
Sunlight exposure: Short-term sunlight (30–60 minutes) helps kill bacteria and remove residual smells without damaging components.
Ventilation: Let all parts air dry naturally; avoid enclosed areas that trap moisture which can lead to mold.
Deodorizing tip: A bit of baking soda in the waste drawer helps maintain freshness between deep cleans.
Storage: Keep the deodorizer box dry for maximum efficiency in controlling odors.
5. Real User Experiences
"I spend about 30–40 minutes each month on full cleaning. The drying time takes the longest, but the result is totally worth it — the odor is gone and the drum looks new again."
— Ms. Zhang, apartment user with CB002
"With an electric screwdriver, removing the silicone mat takes less than 10 seconds. A garden brush and spray gun do the rest. Much easier than my old manual litter box!"
— Mr. Wang, multi-cat household using CB004
"Keeping a separate pair of gloves and brush just for the litter box makes a huge difference. I never bring that smell into the kitchen again. My CB003 stays fresh with weekly quick cleans."
— Ana, homemaker
Most users agree that the CB series is much easier to maintain than traditional litter boxes. Once you establish a monthly cleaning habit, the process becomes quick and satisfying — leaving your cats happier and your home fresher.
6. Safety and Maintenance Notes
Always unplug before any disassembly to prevent electric shock.
Never immerse the bottom unit in water — it contains electrical components.
Tighten screws securely but gently to avoid damaging plastic fittings.
Keep the user manual for reference when unsure about reassembly steps.
For daily maintenance, wipe inner surfaces with a damp paper towel and mild cleaner between deep cleans.
Use high-quality clumping clay litter — it prevents over 90% of odor and residue buildup in all CB models.

7. Frequently Asked Questions
Do I need to disassemble every time I clean?
No. You can perform a partial clean weekly (just empty waste drawer and wipe surfaces) and a full deep clean monthly. Only remove the silicone mat when doing a full deep clean.
Is sulfur soap safe for cats?
Yes. Once rinsed thoroughly, sulfur soap leaves no harmful residue and effectively neutralizes odors. It's safe for all cats, including kittens and senior cats.
How do I clean without a water gun?
Use a regular garden hose or a bucket of water with a soft brush. The key is gentle, consistent scrubbing to remove all residue before drying.
Can I dry parts indoors?
Yes, just make sure airflow is good. A fan can help speed up the process. Ensure parts are completely dry before reassembly to prevent mold.
What should I do if water accidentally enters the bottom unit?
Immediately unplug, dry the exterior with a towel, and let it air out for at least 24 hours before use. If unsure, contact Tikpaws support for assistance.