
Smart Pet Feeder App Connection Guide | Tuya Smart & Smart Life Setup
Date: 2026-01-06 Categories: FAQ Hits: 5738
Smart Pet Feeder App Connection Guide
(Tuya Smart / Smart Life App)
This guide explains how to connect your smart pet feeder to the Tuya Smart or Smart Life app step by step. It applies to most Wi-Fi smart pet feeders using the Tuya platform and helps ensure a smooth and successful setup.
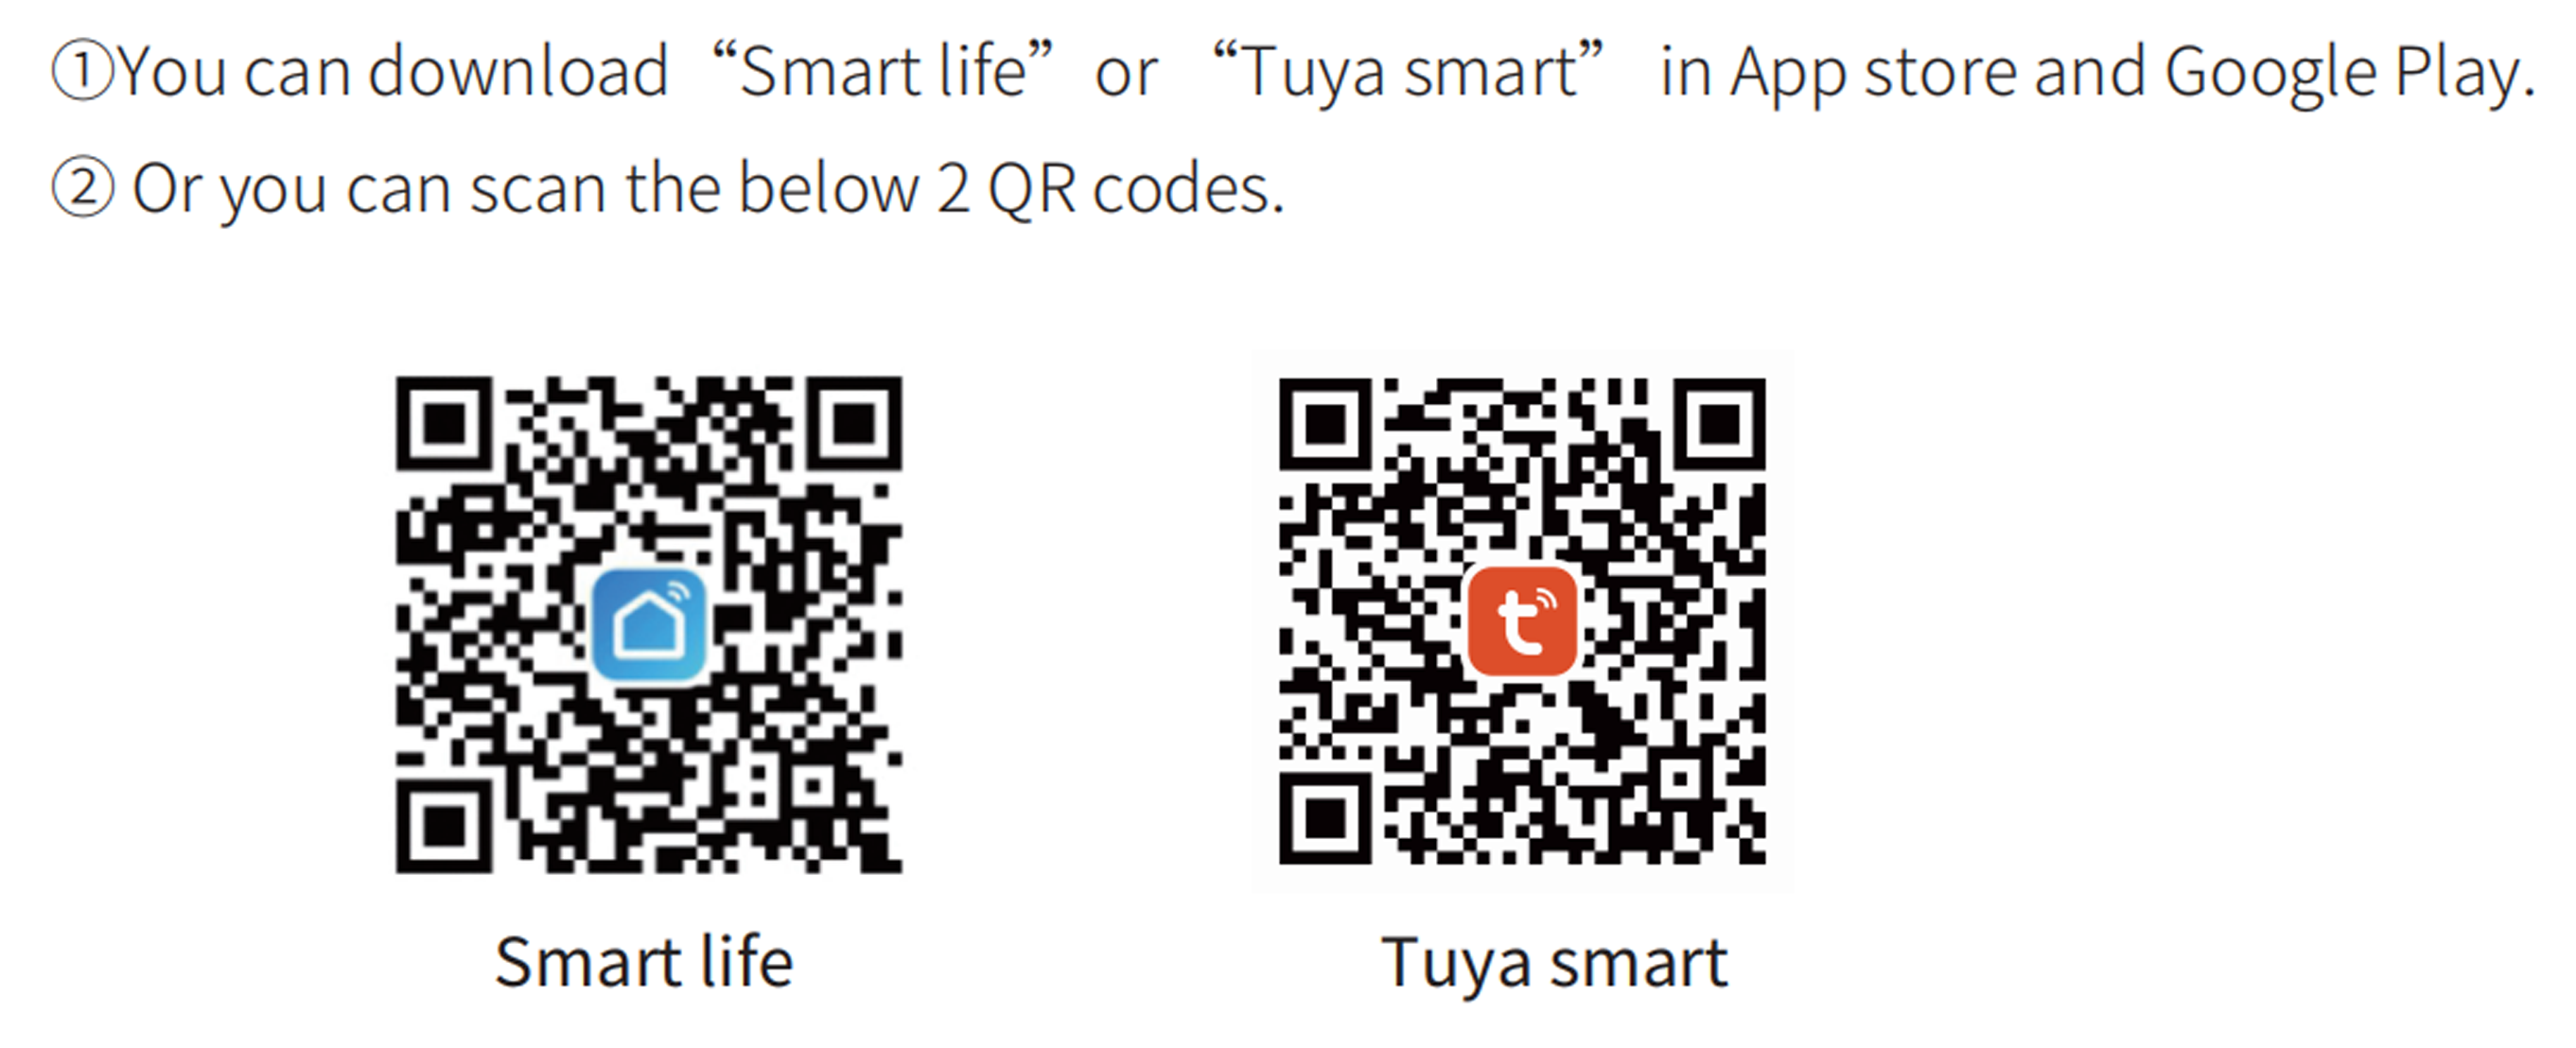
Step 1 – Download the App
Search for Tuya Smart or Smart Life in the App Store or Google Play, or download the app by scanning the provided QR code.
Step 2 – Register or Log In
Open the app and register a new account or log in with your existing credentials.
After logging in, tap “Add Device” on the home screen.
Step 3 – Allow App Permissions
When prompted by the app, please allow Bluetooth and network access.
Bluetooth is required to discover and pair the feeder during setup
Network access is required to connect the feeder to Wi-Fi and enable app control
Without these permissions, the feeder cannot be added successfully.
Step 4 – Select the Device Type
From the device category list, select:
Pet Devices → Smart Pet Feeder
Step 5 – Confirm Device Status
Make sure the feeder is powered on.
The red indicator light should be flashing, indicating the device is ready for pairing.
Step 6 – Connect via QR Code (Standard Mode)
Follow the on-screen instructions in the app:
Tap “Next”
Enter your Wi-Fi network name and password
⚠ Only 2.4GHz Wi-Fi networks are supported
The app will generate a QR code
Hold your phone in front of the feeder’s camera
When the feeder emits a prompt sound, tap “I heard the prompt” in the app
Step 7 – Complete Network Connection
Once the feeder connects to the network successfully, the app will automatically enter the live video interface.
Step 8 – Indicator Light Status
Green light flashing: Device is connecting
Green light solid on: Connection completed successfully
Step 9 – Hotspot Connection Method (AP Mode)
If the standard connection fails, try AP Mode:
Select Smart Pet Feeder – AP Mode in the app
Open your phone’s Wi-Fi settings
Connect to a Wi-Fi network starting with “smartlife-”
No password is required
Return to the app and continue the setup as instructed
Connection Tips
Keep your phone and feeder close to the Wi-Fi router
Disable VPNs during setup
Avoid enterprise, public, or guest Wi-Fi networks
Ensure the feeder remains powered on throughout the process